

An ice machine bin is the insulated box that catches and stores ice right after your ice maker head produces it. You can think of it as your restaurant's own personal ice bank account. It has to hold enough frosty reserves to get you through the busiest rushes without ever running dry.
In a place that never stops, the right bin is what keeps service smooth and drinks perfectly chilled. In the vibrant city of Las Vegas, where you'll find a diverse array of restaurants that cater to every palate, having the right equipment is non-negotiable.
Why Your Ice Machine Bin Is a Make-or-Break Decision
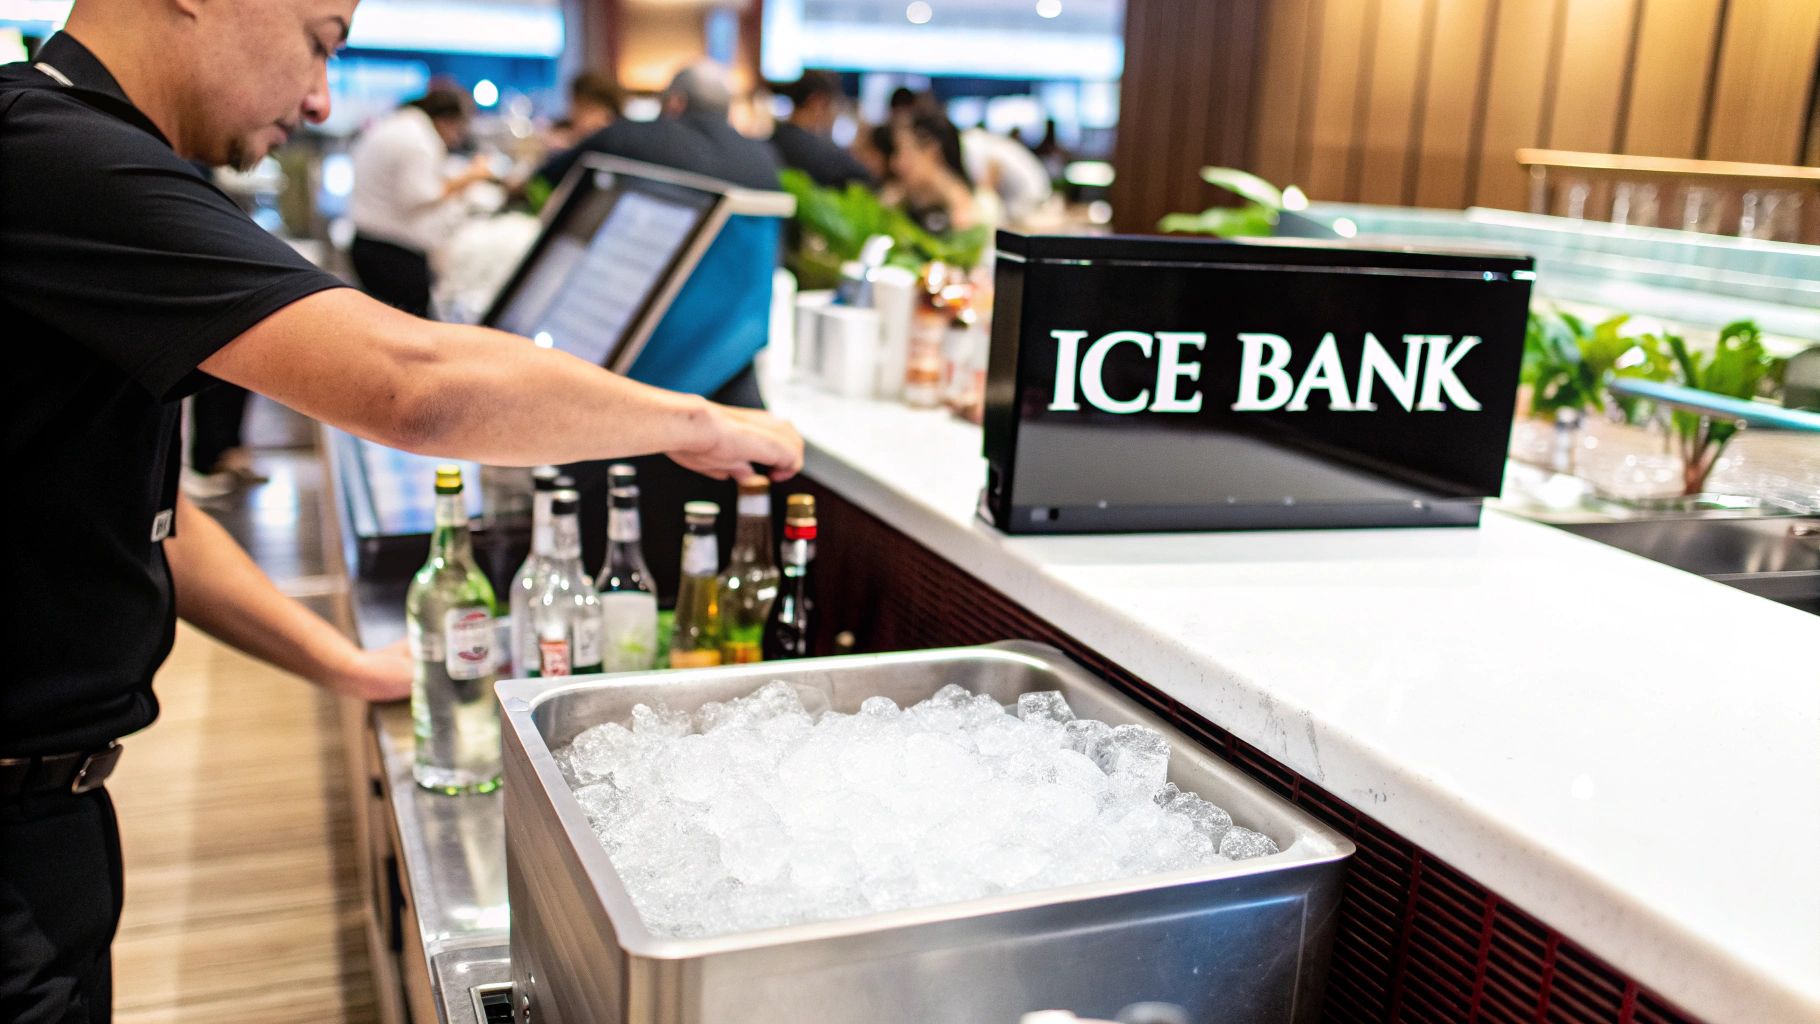
Here in Las Vegas, a cold, refreshing drink isn't a luxury; it's a fundamental expectation. Your ice supply is the absolute lifeblood of your beverage program. This is true whether you’re a massive resort on the Strip or a beloved local cafe over in Henderson. Every single operation shares one non-negotiable need: a constant, reliable supply of clean ice.
This is where your ice machine bin stops being just another piece of equipment. Alongside other essential restaurant equipment needed for success, including commercial refrigerators, commercial freezers, and ice machines, the bin becomes a critical asset that can genuinely make or break your profitability and your customers' happiness.
While your commercial refrigerators and freezers keep ingredients fresh, it's the ice machine and its bin that truly keep the drinks flowing. An undersized or poorly insulated bin is a recipe for disaster in our desert climate. It guarantees ice shortages during the dinner rush, killing drink consistency and creating pure chaos behind the bar.
The True Cost of the Wrong Choice
Picking out an ice bin is about so much more than just how much ice it can hold. It’s a strategic move that affects everything from your kitchen’s workflow to your long-term expenses. The sticker price is just the beginning of the story.
A poorly chosen ice bin can lead to higher utility bills from ice melt, increased labor costs from managing shortages, and potential revenue loss from unhappy customers. The right unit, however, supports seamless service and protects your bottom line.
A huge part of this decision involves looking beyond the initial purchase and considering the importance of reducing the total cost of ownership. This means factoring in things like insulation quality, how durable the materials are, and how easy it is to clean—all of which add up to its real value over time.
For busy operators, getting a quick handle on these factors is crucial. Here's a table to simplify the decision-making process.
Ice Bin Decision Factors at a Glance
| Key Factor | Why It Matters in Las Vegas | Quick Tip |
|---|---|---|
| Sizing & Capacity | Underestimate demand and you'll run out of ice during a 110°F summer day, a critical service failure. | Calculate your peak daily ice usage, then add a 20% buffer for unexpected rushes or heatwaves. |
| Material & Insulation | Poor insulation means your ice melts faster in the desert heat, wasting water, energy, and money. | Look for polyurethane foam-injected insulation. Stainless steel is durable, but a polyethylene liner is easier to clean. |
| Compatibility | An improperly matched bin and ice maker can cause overflow, damage equipment, or just won't fit together. | Always use the manufacturer's compatibility chart. Don't eyeball it! An adapter kit may be needed. |
| Sanitation & NSF | Health inspectors are vigilant. A bin that's hard to clean becomes a breeding ground for bacteria. | Choose bins with smooth, rounded corners and antimicrobial agents built into the liner for easier cleaning. |
| Footprint & Placement | Space is a premium in Las Vegas kitchens. A bin that's too big or placed poorly creates workflow bottlenecks. | Measure your available space before you buy. Consider undercounter or sloped front bins for tight spots. |
This table provides a snapshot, but understanding the details behind each factor will empower you to make the best possible investment for your operation.
Setting the Stage for Success
It's no surprise that the global ice storage bins market has seen consistent growth. In 2023, the market was valued at $291.05 million and is on track to hit $371.15 million by 2029. This trend just confirms what smart operators already know: reliable ice storage is a cornerstone of an efficient kitchen.
This guide is your roadmap. We’re going to break down everything you need to know, focusing on three core areas to help you choose the perfect bin:
- Sizing and Capacity: Nailing down your exact ice needs so you’re always prepared.
- Compatibility: Making sure your bin and ice maker are a perfect match.
- Sanitation: Keeping your ice safe, clean, and up to health code standards.
How to Calculate Your Ideal Ice Bin Capacity
Picking the right size for your ice machine bin isn’t just a random guess—it’s a make-or-break calculation for your service quality. Think of the bin as your ice reservoir. You need enough on hand to get through a sudden dinner rush or a packed bar during a sweltering Las Vegas evening without ever running dry. Forget generic formulas; this has to be tailored to your specific operation.
Go too small, and your staff will be making panicked ice runs during peak hours, killing drink quality and adding a ton of stress. But go too big, and you’re just wasting prime kitchen real estate and energy. The ice at the bottom will just sit there, melting and clumping together before you ever get to it. The sweet spot is having just enough to comfortably beat your peak demand without being wasteful.
Start with Your Base Ice Consumption
Before you can account for things like heat and surprise rushes, you need to nail down your baseline. That means figuring out where all your ice is going on an average day. The best way to do this is to break it down by category.
Start with these main points of consumption:
- Beverages: For most places, this is the big one. And the type of drinks you serve is huge. A bar on Fremont Street cranking out frozen margaritas will chew through way more ice than a quiet Summerlin bistro that’s mostly pouring wine.
- Food Displays: If you're running a buffet, a salad bar, or a fresh seafood display, the ice needed to keep everything safely chilled adds a serious amount to your daily total.
- Kitchen Use: Don't forget about the back of the house. Ice baths for cooling soups, blanching vegetables—it all adds up. It’s usually less than what you use for drinks, but it's a non-negotiable part of the equation.
A good rule of thumb in the industry is to plan for 1.5 lbs of ice per customer for a typical restaurant meal. If you're running a bar or nightclub, that number immediately jumps to 3 lbs per customer since nearly every order is a drink.
For example, a restaurant that serves 200 guests on a busy night needs a starting point of at least 300 lbs of ice (200 guests x 1.5 lbs/guest). A packed bar with the same 200 patrons? They’ll need double that—around 600 lbs—just to keep the cocktails flowing.
Factoring in the Las Vegas Environment
Alright, let's talk about the elephant in the room: the brutal desert heat. Ambient temperature is the mortal enemy of ice. An ice bin sitting in a kitchen that can easily hit 90°F is going to see ice melt way faster than one in a cooler climate. This is where a strategic buffer isn't just a good idea; it's a survival tactic.
After you've got your base number, you have to add a "meltage buffer." A safe bet is to bump up your calculated storage need by 20% to 30%. Think of this extra capacity as an insurance policy. It protects you from the double-whammy of a hot kitchen and an unexpected wave of customers, making sure your ice reservoir doesn't tap out at the worst possible moment.
Finalizing Your Calculation with Real-World Examples
Let's pull this all together and see how it works for two different Las Vegas spots.
Scenario 1: High-Traffic Fremont Street Bar
- Patrons: 300 on a Saturday night
- Calculation: 300 patrons x 3 lbs/patron = 900 lbs base need
- Vegas Buffer: 900 lbs x 25% = 225 lbs
- Total Required Bin Capacity: 900 + 225 = 1,125 lbs
Scenario 2: Upscale Summerlin Restaurant
- Patrons: 150 on a Friday night
- Calculation: 150 patrons x 1.5 lbs/patron = 225 lbs base need
- Vegas Buffer: 225 lbs x 20% = 45 lbs
- Total Required Bin Capacity: 225 + 45 = 270 lbs
These two examples show just how wildly different ice needs can be. The right ice machine bin is the one that matches the unique rhythm of your business. For many Las Vegas businesses, finding that balance is key. Market data shows that the 100-200 lbs daily capacity segment captures 33.6% of the market, which is a great range for smaller cafes or bistros. Meanwhile, the food service sector as a whole drives most of the demand, representing a 55.7% share of the end-user market. You can dig into more insights about the commercial ice machine market on Market.us. By taking a hard look at your own customer volume, menu, and climate, you can pick a bin that will keep your operation running smoothly, day in and day out.
Matching Your Bin and Ice Maker for Peak Performance
Think of your ice maker head and your storage bin as a lock and key. One simply won't work right without the other. This is the whole idea behind modular ice systems, where the part that makes the ice (the head) is separate from the ice machine bin where you store it. For any restaurant, bar, or hotel here in Las Vegas, getting this relationship right is absolutely critical for a reliable, efficient operation.
Mismatched systems are one of those common—and costly—mistakes we see all the time. An ice maker head that’s too wide or too skinny for the bin creates a wobbly, unstable setup, which is a serious safety hazard in a hectic kitchen. Worse, if the mounting patterns don't line up, you might not even be able to attach the head at all, leaving you with two very expensive paperweights. This is why compatibility isn't just a suggestion; it’s a hard requirement.
Decoding Manufacturer Specifications
Your single best friend in this process is the manufacturer's specification sheet, or "spec sheet." This document is your treasure map, laying out every critical detail you need. Don't just skim it—learn to read it like a pro.
When you're looking at spec sheets for brands like Atosa or other solid names in commercial refrigeration, zero in on these key details:
- Dimensions: Check the width and depth of both the ice maker head and the top opening of the bin. They need to match up perfectly for a secure fit.
- Mounting Pattern: The spec sheet will lay out the pattern of the mounting holes. These have to align exactly between the two units.
- Adapter Requirements: Sometimes, a manufacturer will offer an adapter kit to make a specific head work with a slightly different bin. The spec sheet is where you'll find out if you need one.
Ignoring these details is like trying to force the wrong size lid onto a pot. It might look close, but it’s never going to seal properly. In the world of ice machines, that leads to wasted energy and potential damage.
The Real-World Benefits of a Perfect Match
Getting the pairing right delivers real, tangible benefits that hit your bottom line, which is everything in the competitive Las Vegas market. When the ice maker head and bin are literally made for each other, you guarantee an efficient ice harvest. The ice drops cleanly from the evaporator plate right into the bin without getting hung up, preventing jams that can stop production cold and force you to fix it by hand.
This smooth operation also optimizes your energy use. The system just works the way it's supposed to, without the strain from bad alignment or ice backups, which helps keep those power bills in check. For those of us operating in the desert climate, the rise of automatic ice makers solves a huge headache—keeping up with ice production during brutal summers and high customer demand. We're seeing a big shift toward modular setups for this exact reason; separating the ice-making from the storage offers flexibility that restaurants and hotels need. You can dig a little deeper into the automatic ice maker market at Gminsights.com.
This chart gives you a quick visual of how to think through your ice needs before you even start looking at equipment.
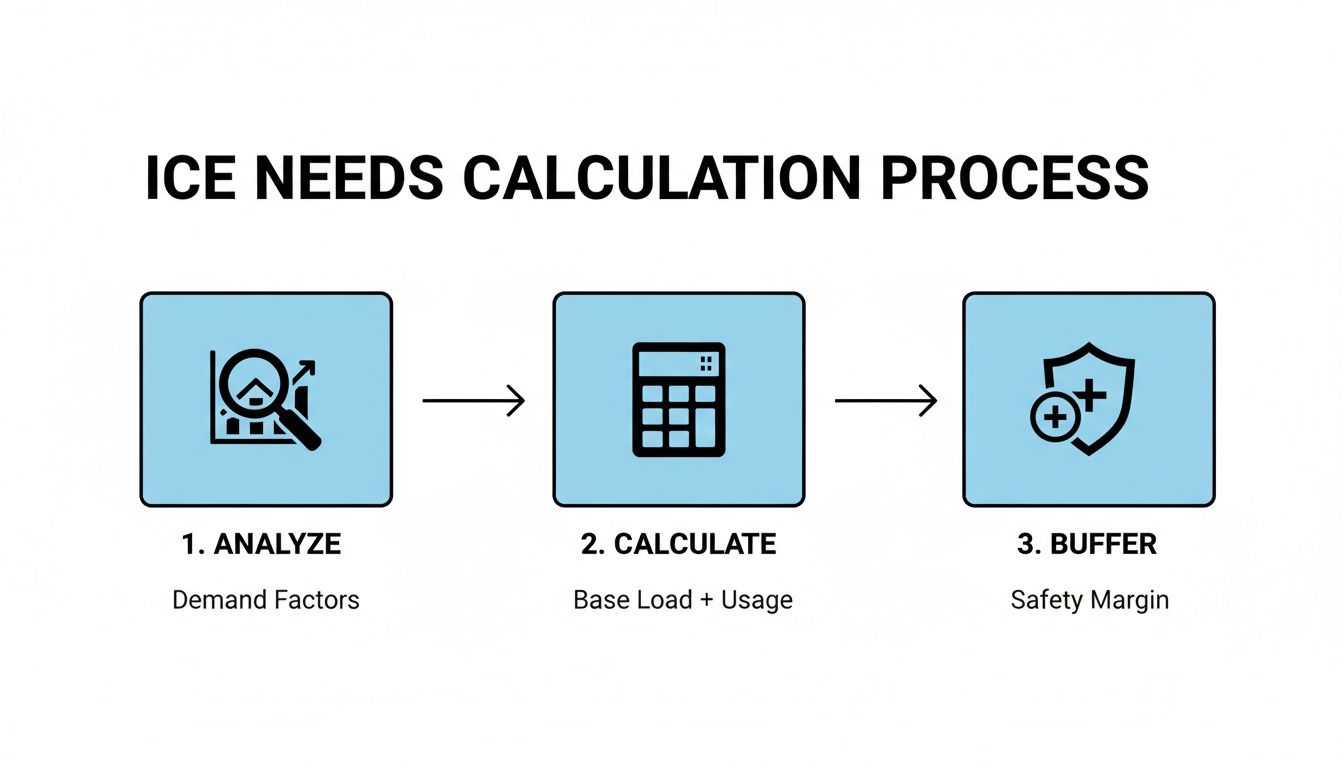
As you can see, a smart equipment choice starts with a solid analysis of your demand, followed by some real numbers, and finally, adding a safety buffer.
Avoiding Common Compatibility Pitfalls
Even when you're trying to do everything right, mistakes happen. A classic pitfall is assuming that any bin from a certain brand will fit any head from that same brand. That's almost never the case. Manufacturers make different series and sizes designed for very specific uses.
Always verify compatibility using the exact model numbers of both the ice maker head and the ice machine bin. Cross-reference these numbers with the manufacturer's official compatibility chart before you pull the trigger on an order.
Another thing people miss is the ice chute's position. The opening on the bin has to line up perfectly with where the ice actually drops out of the head. If it's off, you'll have ice spilling all over the floor, creating a wet, dangerous mess and wasting product. Taking a few extra minutes to triple-check every detail on that spec sheet will save you from a world of frustration and protect your investment down the road.
Smart Installation Strategies for the Desert Climate
In the Las Vegas restaurant world, a packed house is just as much about smart kitchen design as it is about the food. That same logic applies to your equipment—where you put your ice machine and bin is just as critical as which one you buy. A bad placement can kneecap even the best machine, especially out here in the desert.
Think of your ice maker as a marathon runner trying to compete in the middle of a July heatwave. If you stick it in a cramped, hot closet with zero airflow, it has to work overtime just to keep up. That constant strain doesn't just shorten its lifespan; it sends your energy bills through the roof. For any Vegas restaurant, from a high-volume spot on the Strip to a local diner, every dollar saved on utilities is a win.
Give Your Equipment Room to Breathe
This is the golden rule: your ice machine needs ventilation. The refrigeration system in the ice maker head kicks off a surprising amount of heat. If that hot air gets trapped, it creates a vicious cycle. The machine ends up fighting its own exhaust, becoming less efficient and causing the ice in your bin to melt faster than you can use it.
You can dodge this common—and expensive—mistake by following a few simple placement rules:
- Mind the Gap: Always, always leave at least 6-12 inches of clearance around any vented sides of the ice maker. This is non-negotiable. It gives hot air a clear path to escape, letting your machine run cooler and more efficiently.
- Avoid Heat Sources: It sounds like common sense, but you'd be surprised. Never install your ice machine next to a deep fryer, a six-burner range, or even a hard-working commercial freezer. You're just forcing it into a battle it can't win.
- Think Like Air: Picture how air moves through your kitchen. You want the unit somewhere it can pull in cooler ambient air and push out hot air without immediately sucking that same hot air right back in.
A well-ventilated unit is a happy unit, and a happy unit saves you from early equipment failure and the headache of a perpetually sweating ice bin. You can get more ideas for optimizing your kitchen layout in our guide on designing a restaurant kitchen.
Plan for Water In and Water Out
Getting your utility connections right from the start is fundamental to a leak-free operation. Before you fall in love with a spot, confirm you have access to a water line, a proper electrical outlet, and—most importantly—a floor drain.
A floor drain is not a suggestion; it's a requirement. Your ice bin has a drain line for meltwater, and the ice maker head itself needs a drain for its harvest cycle. Skip this, and you’re just asking for slippery floors, water damage, and a massive safety hazard.
Once you have your spot, make sure the unit is perfectly level. If it's tilted, water can pool weirdly inside the bin, mess with the ice-making cycle, and eventually cause leaks. Grab a level and adjust the legs until it's completely stable. This one small step will save you a world of trouble later.
Finally, think about your people. The ice machine bin needs to be located somewhere that makes sense for your daily workflow. Put it where staff can grab ice quickly without causing a traffic jam during a busy service. And don't forget about the technicians—make sure there's enough room for them to get in there for cleaning and maintenance without having to wrestle equipment around. Smart placement is the bedrock of a safe, efficient, and profitable kitchen.
Mastering Ice Bin Sanitation and Health Code Compliance
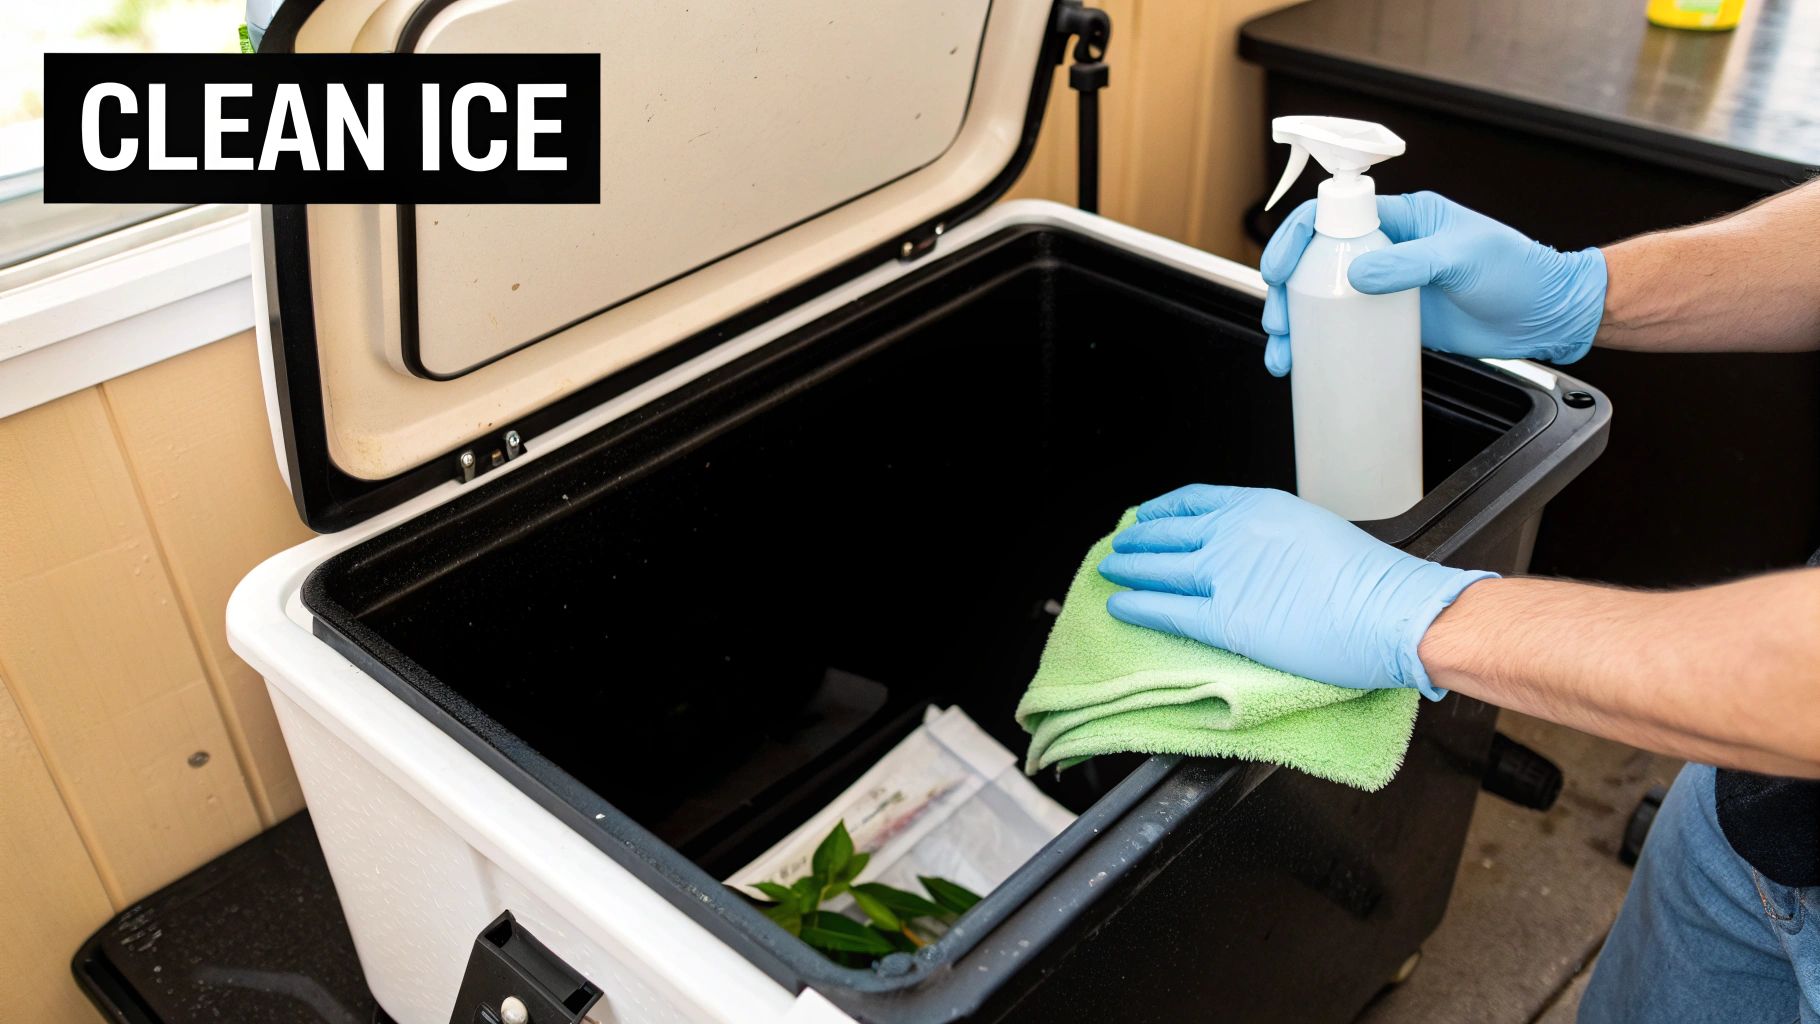
In the Las Vegas restaurant scene, where every detail gets noticed, the cleanliness of your ice is non-negotiable. A spotless ice machine bin isn’t just a nice-to-have; it's a legal requirement and a direct reflection of your commitment to quality. The FDA legally considers ice a food, which means it falls under the same strict health and safety standards as anything else coming out of your kitchen.
Think of your ice bin like a crystal-clear cocktail glass. Nobody wants their drink served in a smudged glass, and they have the exact same expectation for the ice that chills it. Any slip-up—from slime and mold to weird odors—can instantly ruin a customer's experience and tarnish your restaurant's hard-earned reputation.
Understanding Key Sanitation Concepts
For any operator in Las Vegas, staying on the right side of Clark County health codes is everything. When inspectors walk in, they’re looking for proof that your equipment is not just clean but properly sanitized. This is where those NSF (National Sanitation Foundation) and ETL (Intertek Testing Services) certifications on your equipment really matter. Those little marks on your commercial refrigerators, freezers, and ice machines are a sign that the gear is designed to be easily cleaned and won't harbor bacteria.
To really get this right, you have to understand the critical difference between sanitizing and cleaning. They aren't the same thing.
- Cleaning is all about getting rid of the visible stuff—the dirt, grime, and mineral buildup. You simply can't sanitize a dirty surface.
- Sanitizing is the chemical step that kills the microscopic germs, bacteria, and viruses you can't see, knocking them down to safe levels.
One process without the other is a job half-done. You have to clean first, then sanitize. This two-step punch is the only way to guarantee your ice is safe and that you'll ace your next health inspection.
A Practical Step-by-Step Cleaning Guide
Routine cleaning is your best defense against contamination. Let it slide, and you're asking for a buildup of slime, mold, and scale, creating a health hazard that could even cause your equipment to fail. Here's a straightforward process to get it done.
1. Prep for Safety First things first: turn off and unplug the ice machine. Shut off the water supply, too. You don't want any surprises. Always wear your personal protective equipment (PPE), like gloves and safety goggles.
2. Empty and Ditch the Ice Scoop out every single cube from the bin and throw it away. Even if it looks perfectly fine, it could be contaminated by biofilm or bacteria hiding on the bin walls.
3. Clean the Interior Mix up a food-safe cleaning solution, following the manufacturer's directions to the letter. Grab a soft-bristle brush or a non-abrasive sponge and scrub every interior surface. Pay extra attention to corners, seams, and the door gasket—that’s where slime loves to hide.
4. Rinse It All Out Now, rinse away every trace of that cleaning solution with fresh, warm water. Any leftover cleaner can mess with the sanitizer and make your new ice taste off.
5. Sanitize Every Surface Apply an EPA-approved, food-contact-safe sanitizer to all the interior surfaces. Let it sit for the required contact time listed on the label, which is usually between 1 and 5 minutes. Critically, do not rinse the sanitizer unless the instructions specifically say to.
6. Air Dry and Get Back to Business Let the bin air dry completely. Once it's dry, you can turn the power and water back on. It’s always a good idea to discard the first full batch of ice made after cleaning. For a deeper dive, check out our guide on commercial ice maker maintenance for more tips.
Remember to keep a dedicated, labeled "ICE ONLY" scoop stored in a clean holder—never in the ice itself. This simple habit is one of the easiest ways to prevent cross-contamination and show health inspectors you take sanitation seriously.
A clean ice machine is a sign of a well-run operation. The following schedule breaks down exactly what you need to do and when, taking all the guesswork out of the process.
Your Essential Ice Bin Cleaning Schedule
| Frequency | Cleaning Task | Why It's Critical |
|---|---|---|
| Daily | Wipe down the bin's exterior, handle, and door. Inspect the interior for any visible signs of soil or mold. | Prevents surface cross-contamination and allows for early detection of bigger issues before they become a health code violation. |
| Weekly | Perform a quick interior wipe-down with a clean, damp cloth. Check and clean the ice scoop and holder. | Addresses minor spills and buildup, keeping the scoop—a major source of contamination—sanitary. |
| Quarterly | Complete a full deep clean and sanitation cycle (as described in the step-by-step guide above). | This is the minimum frequency recommended by most health departments to eliminate biofilm, scale, and microbial growth. |
Sticking to a consistent schedule like this protects your customers, your equipment, and your business's reputation. It's a non-negotiable part of running a professional kitchen.
Troubleshooting Common Ice Bin Problems
Even the most reliable ice machine bin can hit a snag, especially in the thick of a chaotic Las Vegas-style dinner rush. Before you pick up the phone and pay for an expensive service call, it’s worth doing a little detective work yourself. Many of the most common issues have surprisingly simple fixes you can handle right on the spot.
Think of it as first aid for your ice storage. Knowing how to spot and solve these nagging problems will save you time, money, and the headache of an ice shortage when you need it most. Let's walk through the usual suspects.
Water Pooling in the Bottom of the Bin
Finding a puddle of water sitting at the bottom of your ice bin is one of the most frequent complaints we hear. Nine times out of ten, this points directly to a drainage problem. Your bin is built with a drain line to get rid of meltwater, but it doesn't take much for it to get blocked up.
If you spot standing water, the very first thing to do is check the drain line for clogs. Over time, tiny ice chips, scale, or even a bit of slime can build up and create a dam. Often, a simple flush with warm water is all it takes to clear a minor blockage and get things flowing again.
Ice Melting Too Quickly
Here in Las Vegas, a little melting is just a fact of life. But if your ice seems to be vanishing at an alarming rate, that’s a red flag. Fast-melting ice wastes water and electricity, forcing your ice maker to work overtime just to keep the bin full. This usually points to a problem with the insulation or a bad seal.
Here’s how to figure out what's going on:
- Inspect the Door Gasket: That rubber or vinyl seal around the door is your first line of defense. Close the door and run your hand along the edge. If you feel cold air escaping, the gasket is probably dirty, cracked, or worn out and needs to be replaced.
- Check for Insulation Failure: Take a look at the outside of the bin. Do you see a lot of condensation or "sweating"? This is a classic sign that the foam insulation inside the walls is failing, either because it’s waterlogged or has just lost its integrity.
The Bin Door Wont Close Properly
A door that won't seal shut is just as bad as a busted gasket. It’s an open invitation for warm kitchen air to pour into your ice machine bin, which speeds up melting and can let airborne contaminants settle on your clean ice.
If your bin door refuses to stay closed, start with the obvious: check for obstructions. A misplaced ice scoop or a chunk of ice stuck along the frame is often the culprit. If the coast is clear, the issue might be a bent or misaligned hinge, which may need a professional to adjust or replace.
While you can tackle many of these issues on your own, it's just as important to know when to call in the pros. For more complicated problems with the ice maker head itself, check out our guide on commercial ice maker troubleshooting. Bigger jobs like replacing damaged insulation are best left to a qualified technician.
Answers to Your Top Ice Machine Bin Questions
When you're running a busy spot in Las Vegas, you've got a million things on your mind, from commercial refrigerators to the perfect freezer setup. An ice machine bin might seem simple, but getting the details right is crucial. Here are some straightforward answers to the questions we hear all the time.
How Often Should an Ice Machine Bin Be Replaced?
There's no hard-and-fast expiration date on an ice machine bin. With good care, you can easily get 7 to 10 years (or even more) out of a quality unit.
You'll know it's time for a replacement when you see signs of serious wear that could risk sanitation or just isn't working right anymore. Look out for cracked liners where bacteria can hide, insulation that's failing (you'll see a lot of "sweating" on the outside), or a door that's so damaged it won't seal shut.
What's the Real Difference Between Bin Materials?
It really boils down to two main choices: a full stainless steel bin or one with a polyethylene (plastic) liner. Each has its pros.
- Stainless Steel: This is your workhorse. It looks professional, stands up to a ton of abuse, and resists corrosion like a champ. For a high-volume Las Vegas kitchen that never stops, it’s a fantastic long-term investment.
- Polyethylene-Lined: These are often a bit easier on the wallet upfront. The smooth, non-porous plastic surfaces are a breeze to clean, and many even have antimicrobial agents baked right into the material to help fight off slime and mold.
So what's the verdict? If you need something that can take a beating day in and day out, go for stainless steel. If a lower upfront cost and super simple cleaning are your top priorities, a poly-lined bin is a great pick for any busy bar or restaurant.
Can I Use a Larger Bin with My Ice Maker Head?
Absolutely, and it's a savvy move for keeping up with those crazy weekend rushes. The industry term for this is "over-binning."
The one catch is making sure the larger ice machine bin actually fits your ice maker head. Sometimes you'll need an adapter kit to make them work together. The goal isn't just to match your ice maker's daily output, but to have enough storage to get you through your absolute busiest periods without running out.
What Is the Safest Way to Transport Ice?
The only right way is with a dedicated ice shuttle or caddy. These are the wheeled, lidded containers specifically designed to move ice around safely and cleanly.
Whatever you do, don't grab a glass or a bucket that's been used for anything else. That's a classic health code violation waiting to happen and a huge risk for cross-contamination. Always, always use a clean, designated scoop to get the ice from the bin into the shuttle.
For all the essential gear your restaurant needs, from ice machines to commercial freezers and everything in between, you can count on the team at Las Vegas Restaurant Equipment. Check out our full catalog and find exactly what your operation needs at https://lasvegasrestaurantequipment.com.