

Knowing how to clean a Manitowoc ice maker is really a two-part job. First, you run a descaling cycle to remove mineral buildup, and then you follow up with a sanitizing cycle to knock out any bacteria and slime. It's all about using the machine's built-in cleaning modes and sticking to the manufacturer-approved chemicals—that’s the key to doing it right and keeping everyone safe.
Why a Clean Ice Machine Is Your Best Bet in Las Vegas

Here in the vibrant city of Las Vegas, a place that literally never sleeps, a reliable ice machine is the unsung hero of every single restaurant, bar, and hotel. In this diverse array of restaurants that cater to every palate, clean, crystal-clear ice is something customers just expect. When a machine is dirty or sputtering, it’s not just an annoyance; it’s a real threat to your business.
Every restaurant in this town, big or small, needs essential restaurant equipment to handle the relentless pace. Your commercial refrigerators and commercial freezers keep the food fresh, but it's the ice machines that are constantly fighting a battle against hard water and high demand.
The True Cost of a Dirty Machine
Letting that cleaning schedule slip has consequences that ripple through your entire operation. It hits your wallet, wears down your equipment, and can even get you in hot water with the health department. In a city where standards are sky-high, you just can't afford to let maintenance fall by the wayside.
- Reduced Efficiency and Higher Bills: When mineral scale from our notoriously hard Las Vegas water builds up, the machine has to work much harder to produce less ice. That means longer run times and a utility bill that will make your eyes water.
- Poor Ice Quality and Taste: Scale and slime don't just stay put. They flake off into the ice, making it cloudy and giving it a funky taste or smell that can ruin a perfectly good drink.
- Health Code Violations: A neglected ice machine is the perfect breeding ground for bacteria, mold, and other nastiness. This is a serious health risk that can lead to failed inspections, hefty fines, or even a temporary shutdown.
- Costly Breakdowns: Nine times out of ten, premature equipment failure is caused by simple neglect. A basic cleaning routine costs a fraction of what you'll pay for an emergency service call on a packed Friday night.
A well-maintained ice machine isn't just another piece of kitchen gear; it's an asset that protects your revenue. In a 24/7 town like Vegas, downtime is simply not an option.
Protect Your Investment and Your Warranty
Regular cleaning isn't just about keeping the machine running; it's about protecting the money you spent on it. Manitowoc's own service manuals make it clear: proper maintenance is absolutely essential for extending the life of the unit. I’ve seen it myself—field techs consistently report ice production losses of 15–30% in machines caked with scale, which also sends energy costs through the roof.
Even more importantly, following the manufacturer's cleaning schedule is a requirement to keep your factory warranty valid. Don't risk voiding it over something so simple.
This proactive approach is just smart business. It’s the same logic behind choosing energy-efficient commercial refrigeration to keep utility costs down. By maintaining your ice machine, you ensure it operates at peak performance, contributing to a leaner, more profitable operation.
Your Pre-Cleaning Checklist: Tools and Safety
Before you even touch that "clean" button on your Manitowowc, hold on. In a busy Las Vegas kitchen, jumping the gun is the fastest way to waste an hour you don't have. A little prep work is the difference between a quick, effective cleaning and a frustrating headache.
Let's get everything lined up so this whole process is smooth, safe, and gets done right the first time.
First things first: the chemicals. You need to use the official Manitowoc Cleaner (Descaler) and Manitowoc Sanitizer. I’ve seen what happens when kitchens try to save a few bucks with generic descalers or bleach—it’s not pretty. Those harsh chemicals can eat away at the nickel plating on your evaporator plate, causing permanent damage and voiding your warranty. Trust me, it's not worth the risk. Stick with the stuff made for the machine.
Essential Gear for the Job
Once you have the right solutions, you'll need a few basic tools. Nothing fancy, just a few things to make the hands-on part of the job a whole lot easier.
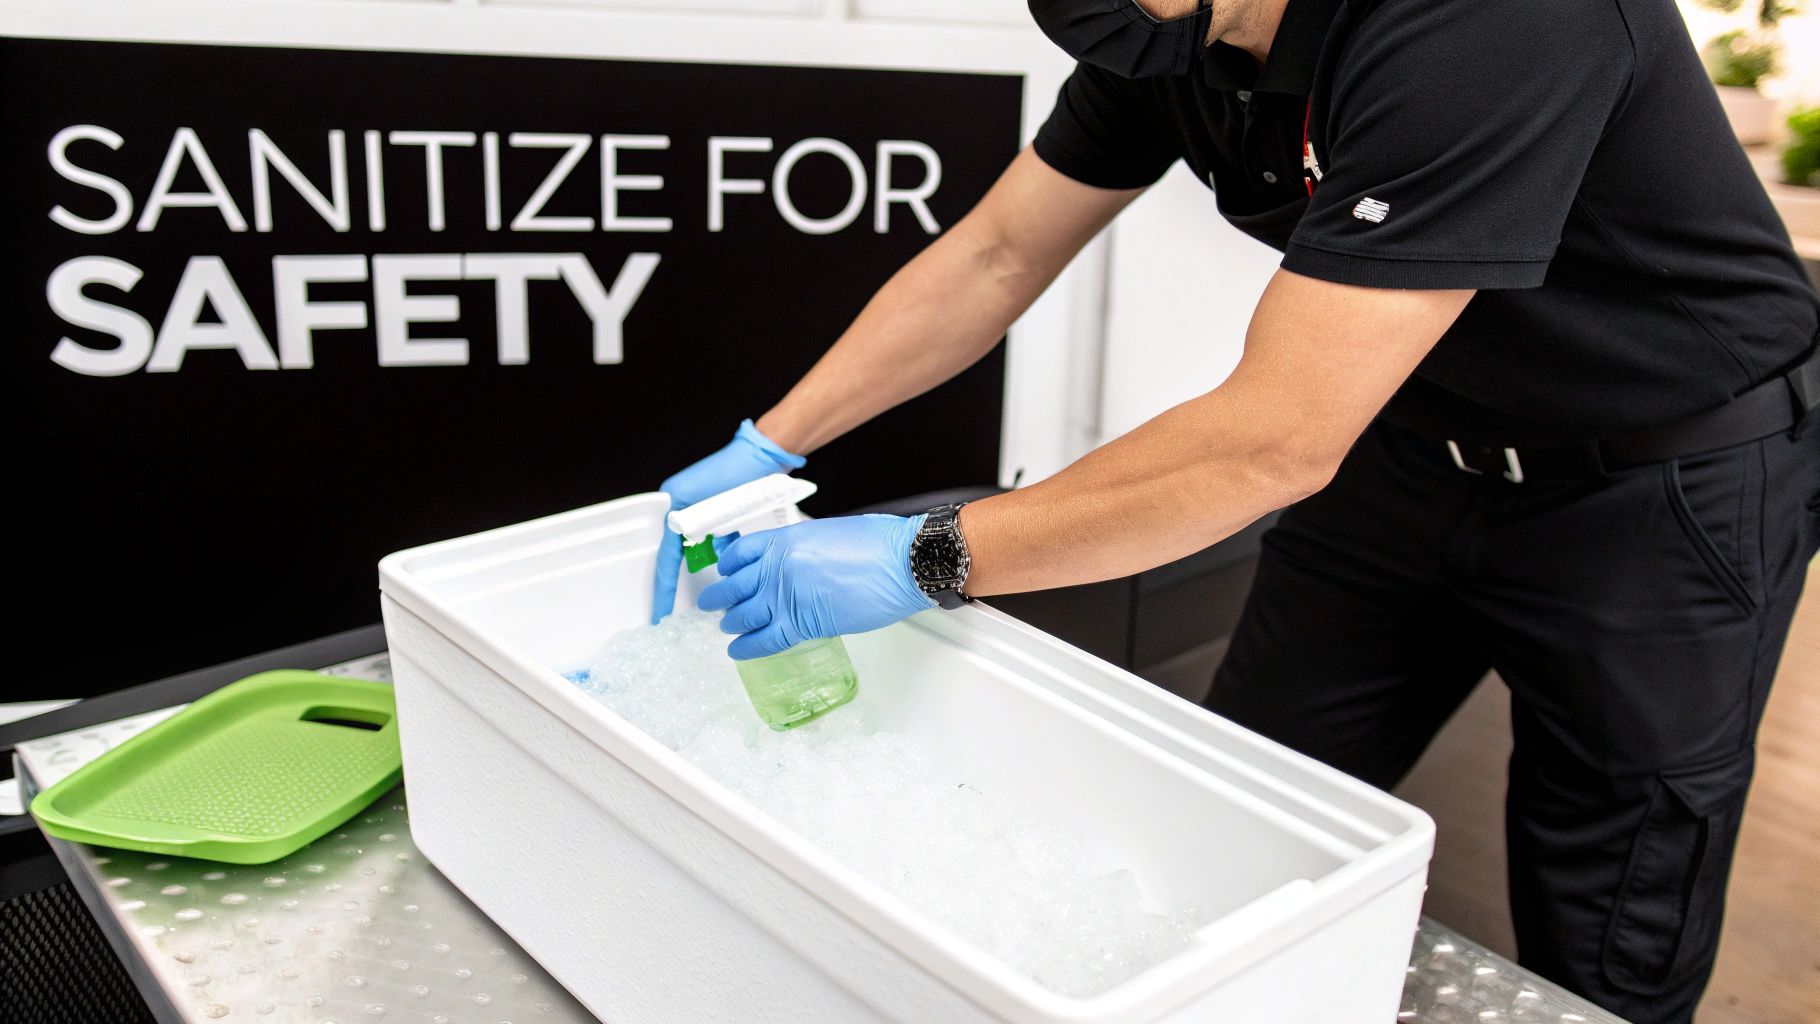
- PPE is a must: I’m talking about safety glasses and chemical-resistant gloves. The cleaner and sanitizer are food-safe once rinsed, but you don't want that stuff splashing in your eyes or on your skin.
- Soft-bristle brushes: Get a couple of different sizes. These are perfect for getting into the nooks and crannies of the water curtain or distribution tube without scratching any of the plastic parts.
- Spray bottles: Have two clean ones ready to go. Label one for your sanitizer solution and the other with plain water for rinsing. Don't mix them up.
- Clean cloths: A small stack of lint-free towels is essential for wiping everything down and making sure components are dry before they go back in.
Critical Safety Warning: Never, ever mix the Manitowoc cleaner (the descaler) with the sanitizer. This isn't just a suggestion; it's a serious safety rule. Mixing them can create a chemical reaction that releases toxic gas right into your kitchen. Always use them in separate cycles, just like the manual says.
Final Safety Protocols
Okay, before you pull off a single panel, let's talk safety. In the controlled chaos of a Las Vegas kitchen, these steps are non-negotiable. They protect your staff and your very expensive ice machine.
The absolute first thing you do is kill the power to the machine at the circuit breaker. Water and electricity are a bad mix, period. Next, get some air moving. Turn on an exhaust fan to help clear out any chemical smells.
Finally, shut off the water supply line going into the machine. You don't want a surprise shower when you've got parts disassembled. Taking these few extra minutes to prep is the real secret to mastering how to clean a Manitowoc ice maker safely and efficiently.
Descaling Your Machine to Conquer Mineral Buildup
If you've spent any time in Las Vegas, you know our water is notoriously hard. It's packed with minerals that leave a stubborn, chalky scale on everything. For a restaurant or bar, this buildup is more than just ugly; it's a direct threat to your Manitowoc ice maker's performance.
That's why the descaling cycle isn't just another task on your cleaning list—it's your number one defense against poor performance and expensive, premature breakdowns.
Tackling scale buildup head-on is a must. The entire cleaning process for a Manitowoc machine really boils down to two key cycles: descaling and sanitizing. To start descaling, you'll first turn the machine off, let any ice on the evaporator melt away, and get the bin completely empty. Once you're ready, you kick on the machine's dedicated clean cycle and add the right descaler.
Manitowoc's own chemical formulas are tested for thousands of hours to make sure they dissolve scale without damaging the sensitive electroless nickel evaporators or other internal parts. It pays to use the approved stuff.
Initiating the Automated Clean Cycle
Manitowoc keeps things pretty simple here. Most models have a single button that flips the machine between "Ice" and "Clean" modes. After you've emptied the bin and powered the unit back on, just press and hold that "Clean" button. You'll hear the machine click and whir to life as it drains the water trough, getting ready for the cleaning solution.
The control panel will light up or beep when it’s time to add the descaler. This is a critical moment. Adding the chemical too early or too late can make the whole cycle a waste of time. When prompted, pour the correct amount of Manitowoc-approved descaler right into the water trough, just like the machine or your manual tells you.
This quick diagram shows the basic prep you should do before starting any cleaning.
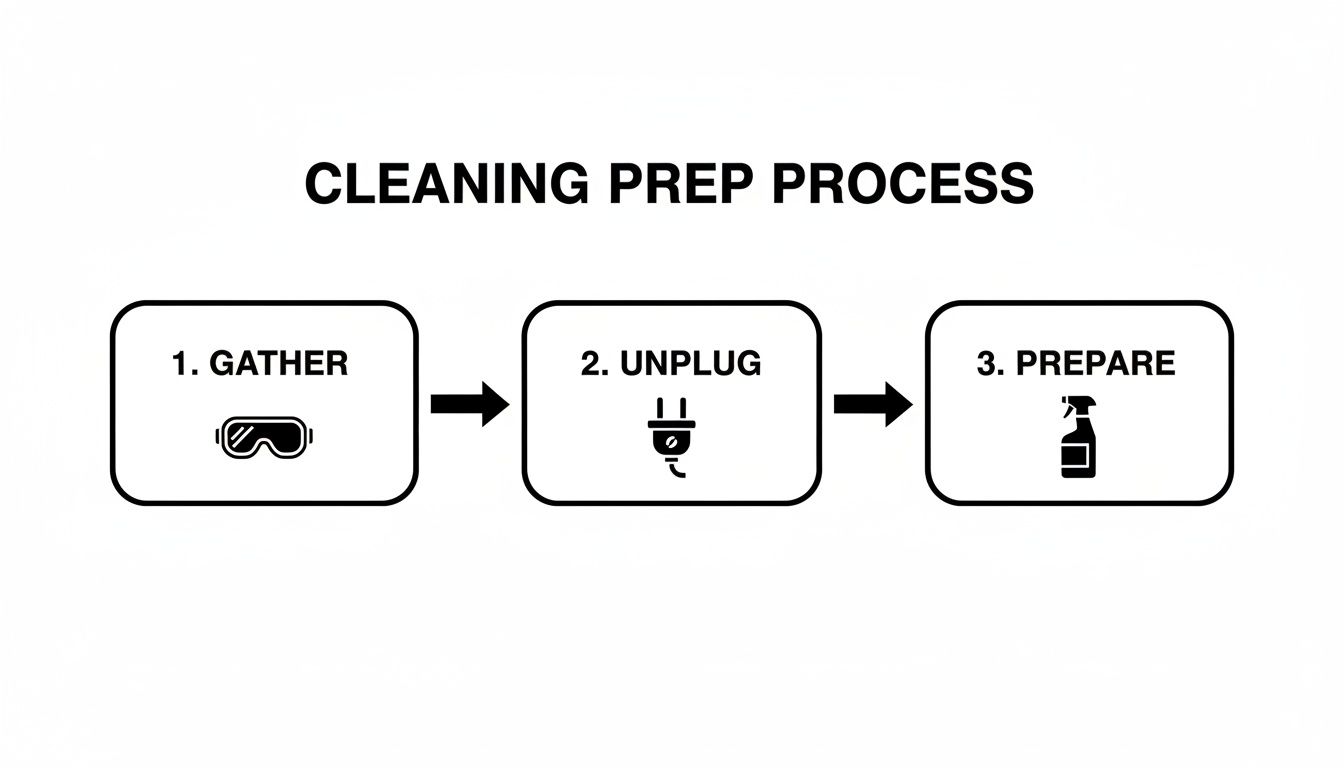
As you can see, a successful cleaning starts with solid preparation: getting your gear, killing the power, and mixing your solutions.
Manual Cleaning While the Machine Works
While your Manitowoc is running its automated cycle—which usually takes about 20-30 minutes—you can put that time to good use. This is the perfect window to manually clean all the components you can safely pull out.
- Water Curtain: This plastic shield just pops right off. Gently scrub it with a soft brush and a little bit of the descaling solution, then give it a good rinse.
- Distribution Tube: This part is what directs water over the evaporator plate. It usually unclips pretty easily. Use a small brush to clean out every little hole to make sure you get even water flow later.
- Water Level Probes: Scale loves to build up on these sensors, which can cause the machine to act up. Carefully wipe them with a cloth dampened with the descaler, and then rinse them completely.
The key here is to be gentle. If you use abrasive pads or stiff brushes, you can create tiny scratches in the plastic, which just gives slime and scale new places to grab onto. A soft touch is all you need.
Remember, the automated cycle cleans the parts you can't reach, like the evaporator and internal tubing. Your manual scrubbing makes sure the removable parts get the same deep clean.
The Importance of the Final Rinse
Once the descaling cycle is over, the machine will automatically kick into one or more rinse cycles. Do not skip this step. I know it's tempting to rush things in a busy Las Vegas kitchen, but this part is non-negotiable for food safety.
The rinse cycles are designed to flush out every last trace of the descaling solution. Cutting it short can leave chemical residue behind, giving you bitter, nasty-tasting ice that will ruin a premium cocktail in a heartbeat. Just let the machine do its thing until the "Clean" light turns off and it switches back to "Ice" mode on its own.
A full rinse guarantees your ice is pristine, tasteless, and crystal clear. For more pro tips on keeping your equipment in top shape, our guide on commercial ice maker maintenance is a great resource.
And to really get ahead of the problem, it helps to understand how to get rid of hard water from the start. Tackling the root cause will save you a ton of time and protect your investment in the long run.
Sanitizing for Food Safety and Peace of Mind
Alright, you've successfully wrestled with the hard water scale and got rid of the visible gunk. Now we move from the stuff you can see to the threats you can't. This is the sanitizing step, and it’s absolutely critical.
This is what separates a machine that just works from one that's genuinely food-safe. It's about protecting your customers—and your reputation—with every single cube that drops into a glass.
Descaling tackles mineral buildup, but sanitizing is what kills the bacteria, mold, and slime that love to grow in damp, dark places. For any restaurant in Las Vegas, where health standards are no joke, this isn't optional. It’s how you guarantee that every premium cocktail and soda starts with a foundation of pure, clean ice.
Kicking Off the Sanitize Cycle
Just like with descaling, Manitowoc keeps this process pretty straightforward. After the descaling and rinse cycles have finished, the machine is ready for round two. Go ahead and press the "Clean" button again to start the sanitizing cycle.
Your machine will tell you exactly when to add the Manitowoc Sanitizer. I can't stress this enough: use the right stuff. The nickel-safe formula is designed specifically for these machines. If you get creative with unapproved chemicals like bleach, you risk damaging sensitive parts and voiding your warranty. That's a shortcut to a very expensive repair bill.
Mixing the sanitizer correctly is just as important. Follow the directions on the bottle to the letter—it's usually a specific ratio of sanitizer to water. A weak solution won't do the job, but a solution that's too strong can leave a nasty chemical taste and be a real pain to rinse out completely.
Total Coverage: Inside and Out
While the machine is busy circulating the sanitizer through its internal plumbing, it's your turn to get hands-on. Your job is to manually sanitize every single surface that ice touches. Think of it as a comprehensive deep clean for your entire ice zone.
Your best friend for this part is a clearly labeled spray bottle filled with your properly mixed sanitizing solution. You need to be thorough.
- The Ice Bin: Once it's empty, spray down every inch—the bottom, all four sides, and especially the corners where moisture loves to hang out.
- The Scoop and Holder: This is a high-contact item. It can transfer germs in a heartbeat. Sanitize both the scoop and wherever you store it.
- Door Panels and Gaskets: Don’t forget the inside and outside of the bin door. Pay close attention to the rubber gasket, a prime hiding spot for grime.
The goal here is complete saturation. If a surface touches ice or could drip water onto ice, it needs to be coated with the sanitizing solution. Let it sit for the recommended contact time, which is usually about 10 minutes. This gives it enough time to kill any lingering microorganisms.
Hunting Down Hidden Slime and Contaminants
In a busy Las Vegas kitchen, the air itself can be a problem. Airborne contaminants are a real thing, especially if you have an active bakery or a big prep area nearby. Yeast, flour, and grease particles can all find their way into your ice machine and create that sticky biofilm we all know as slime.
Be extra vigilant in these trouble spots where slime loves to hide:
- Corners and Crevices: Slime almost always starts in the hard-to-reach corners of the ice bin.
- Underneath Components: Take a look under the water curtain and the distribution tube.
- Drain Lines: Make sure the bin drain is clear and sanitized to prevent nasty backups.
For any spot on the Las Vegas restaurant and bar scene, top-notch hygiene is everything. You clean your commercial freezers and refrigerators daily; your ice machine demands that same attention to detail. Staying on top of this isn't just about food safety—it reflects the high standards of your entire operation.
The Final, All-Important Rinse
Once the automated sanitizing cycle wraps up and you've let the solution dwell on all the surfaces you sprayed, it’s time for the final, critical step: the rinse. Your Manitowoc will run its own internal rinse cycles, but you have to manually rinse everything you sprayed down.
Use a spray bottle of fresh, clean water or a clean, damp cloth to wipe every sanitized surface thoroughly. You want to remove every last trace of the sanitizer. Any residue left behind will give the ice an awful chemical taste, and that's a quick way to ruin a customer's drink and their experience.
With everything rinsed and wiped dry, you can put all the components back, close the doors, and let the machine get back to making ice. This final step is your peace of mind, ensuring the next batch of ice is not just cold and clear, but perfectly clean and safe for every guest. Mastering this is a fundamental part of learning how to clean a Manitowoc ice maker the right way.
Setting a Realistic Cleaning Schedule for Your Venue
Knowing how to clean your Manitowoc ice maker is only half the battle. The other, arguably more important half, is knowing when to do it. Here in Las Vegas, where every restaurant, bar, and hotel is running at full speed, a one-size-fits-all cleaning schedule just doesn't work.
Sure, the manufacturer's recommendation is a decent starting point, but it's not the final word. Think about it: a high-volume cocktail bar on the Strip is going to put way more stress on its ice machine than a quiet neighborhood cafe. Let's get practical and build a cleaning calendar that actually fits your venue's real-world demands.
Beyond the Twice-A-Year Standard
Most service companies and industry experts will tell you a full descaling and sanitizing cycle should happen at least twice a year. For most places, that's a solid baseline. But in a high-volume city like Las Vegas, that minimum often isn't enough to keep up. Even Manitowoc's own guides point out that things like hard water and airborne gunk can justify cleaning as often as every one or two months. You can find more on this over at EasyIce.com.
The trick is to be honest about your unique operating environment. A bustling casino bar pumping out hundreds of drinks an hour needs a much more aggressive schedule than a small diner. The goal here is to stay ahead of the scale and slime, not just react when it becomes a problem.
Factors That Shape Your Cleaning Calendar
To build a schedule that actually works, you have to look past the calendar and get real about the daily challenges your machine is up against. There are three big things that will dictate how often you need to roll up your sleeves for a full cleaning.
- Water Hardness: Las Vegas water is notoriously packed with minerals. If you aren't running a solid water filtration system, that scale is going to build up fast. That means you'll be descaling more frequently—probably every three to four months.
- Kitchen Environment: Is your ice machine located near a bakery, a pizza oven, or a busy prep line? Airborne stuff like yeast, flour, and grease particles are a fast track to slime growth, which means you’ll need to sanitize more often.
- Daily Ice Consumption: It’s simple math: the more ice you make, the more water runs through the system, and the faster mineral deposits build up. If your venue is in high demand, you should really consider quarterly deep cleanings as your new standard procedure.
For any commercial kitchen in Las Vegas, a well-defined SOP for equipment maintenance in food service is absolutely essential. It’s not just about hygiene; it’s about operational efficiency. Documenting your custom schedule keeps everyone on the same page, even when staff changes.
Sample Cleaning Frequencies for Las Vegas Venues
A truly effective schedule is more than just a couple of deep cleans a year. It's a blend of major cleanings with minor, regular upkeep that keeps the machine humming along perfectly.
A proactive cleaning schedule is the cheapest insurance you can buy for an expensive piece of equipment. It prevents costly emergency service calls and guarantees a safe, high-quality product for your guests.
Here are a few templates you can tweak for your Las Vegas business, whether you're juggling commercial refrigerators and freezers or just trying to keep your ice machine reliable.
-
High-Volume Strip Bar or Nightclub:
- Full Descale & Sanitize: Every 3 months (Quarterly)
- Air Filter Cleaning: Monthly
- Bin & Scoop Sanitizing: Weekly
-
Busy Off-Strip Restaurant:
- Full Descale & Sanitize: Every 4 months
- Air Filter Cleaning: Monthly
- Bin & Scoop Sanitizing: Every two weeks
-
Lower-Volume Cafe or Deli:
- Full Descale & Sanitize: Every 6 months (Biannually)
- Air Filter Cleaning: Every two months
- Bin & Scoop Sanitizing: Monthly
When you tailor your schedule to these real-world factors, cleaning stops being a reactive chore and becomes a strategic part of your operation. It’s how you make sure your Manitowoc ice maker stays a reliable asset instead of a surprise liability.
Frequently Asked Manitowoc Cleaning Questions
Even with the best guide in hand, things can get sideways in the middle of a cleaning cycle. When you're in the weeds during a busy service, you don't have time to dig through a manual. This is your quick-hitter guide for the most common questions and curveballs we see from our customers right here in Las Vegas.
We'll get straight to the point on these real-world scenarios so you can troubleshoot on the fly and get back to business.
Why Is the Clean Light Still On After the Cycle Finished?
This is easily one of the most common calls we get. You did everything right, ran the full descaling and sanitizing cycles, but that stubborn "Clean" light is stuck on, and the machine refuses to make ice. Don't panic; it's almost never a major failure.
The culprit is usually the machine's internal water level probes. If even a tiny, invisible layer of scale remains on them, they can't send the "all clear" signal to the control board.
- The Fix: Your best bet is to power down the machine at the breaker, pop out the probes, and give them a second, more focused manual cleaning. A soft cloth with a dab of descaling solution, followed by a very thorough rinse, almost always solves it.
- Another Possibility: Sometimes the machine's brain just needs a reboot. Power it off for a full minute, then switch it back on. This can be enough to reset the control board and kick it back into ice-making mode.
A lingering "Clean" light is your machine's way of saying you missed a spot. Double-checking the manual cleaning on the internal parts is the fastest path to getting that ice dropping again.
How Often Should I Clean the Air Filter?
For an air-cooled ice machine—the workhorse of most commercial kitchens—that air filter is its lungs. In a bustling Las Vegas kitchen, with grease, dust, and flour in the air, that filter gets clogged much faster than you'd think. A choked filter makes the machine work harder, run hotter, and puts it on the fast track to a breakdown.
Make it a habit to clean the air filter once a month. Seriously. It's a five-minute job that pays huge dividends in efficiency and lifespan. Just slide it out, wash it with some warm, soapy water, let it air dry completely, and pop it back in.
My Ice Tastes Like Chemicals—What Did I Do Wrong?
This is a big red flag. If a customer complains about a bitter, chemical taste, you need to stop serving that ice immediately and figure out what happened.
The cause is almost always leftover sanitizer or descaler that didn't get fully rinsed away. This typically happens for two reasons:
- Rushing the Rinse: You might have manually stopped the machine's automated rinse cycle before it fully completed.
- Incomplete Manual Rinsing: Surfaces you cleaned by hand, like the inside of the bin or the ice scoop, weren't wiped and rinsed well enough.
To fix it, you have to dump the entire bin of ice and run another full sanitize and rinse cycle. This time, let the machine finish the job on its own. It’s a pain, but it's the only way to be certain the system is flushed and the ice is safe and tasteless. For more complex problems, our Manitowoc ice machine troubleshooting guide can walk you through more advanced steps.
Can I Use Vinegar or Bleach Instead of the Official Chemicals?
We hear this one a lot, and the answer is an emphatic no. This is a shortcut that will absolutely cost you a fortune down the road. While vinegar can descale and bleach can sanitize, they are the wrong tools for this job.
Using these household products can cause serious, permanent damage to your machine:
- Vinegar: The acid in vinegar is far too aggressive and can eat away at the special nickel plating on the evaporator plate, leading to a massive repair bill.
- Bleach: This will degrade the plastic components and rubber seals inside your machine over time, causing leaks and critical failures.
Even more importantly, using unapproved chemicals will void your manufacturer's warranty. The few bucks you might save on a bottle of cleaner aren't worth the risk of a multi-thousand-dollar repair that you'll have to pay for out of pocket. Stick with the Manitowoc-approved descaler and sanitizer to protect your investment.
Keeping your ice machine pristine is fundamental to running a successful food and beverage operation in Las Vegas. For all your essential restaurant equipment needs, from ice machines and commercial refrigerators to cooking lines and prep tables, Las Vegas Restaurant Equipment has you covered. Explore our full catalog and get fast, free shipping on the gear you need to thrive.